Here is what I love and kind of hate about plastic bags. They’re really hard to manage: they take up a lot of room, float around without much encouragement and they’re just annoying, but that makes it fun to deconstruct them and turn them into something else. Fusible plastic, for example.
What you need:
At least 8 bags, but I recommend more in increments of 8- try to get some extra more colorful bags too
Iron
2 long pieces of parchment paper
Of your eight, the majority should be grocery bags or at least the same kind of bag. For my latest run, I used a kitchen bag in the middle because I wasn’t sure how it would compared to others and it still worked out pretty good. That set might have been my best.
Take each bag and fold it down neatly, so all the edges are tucked in. Cut off the seam on the bottom and the handles.
Cut down the side, so you can open it up and lay it flat. Do this with all eight of your bags.
Lay down one sheet of parchment paper and lay down your bags on top. For me, it’s impossible to make all the bags even, but just do the best you can. Make sure if your parchment paper is too short that you’re bags aren’t hanging off the side. Then add your second piece of paper. Also, be prepared for a little bit of a mess because sometimes the ink will melt.
I think the iron does best if it’s set on rayon or the 5 or 6 setting. I would rather you start on too low a setting and work your way up than start too high and ruin the plastic.
The plastic bags can easily get out of line, so the best way to start is melt one end and then work your way over. Once you finish one side, turn it over and work on the other side.
Keep the iron moving constantly. I mean constantly. The plastic tends to shrink and at first I thought I was doing it wrong, but as I kept ironing, I noticed that it was giving the solid feel I was going for. If you can feel the separate layers, you need to keep going.
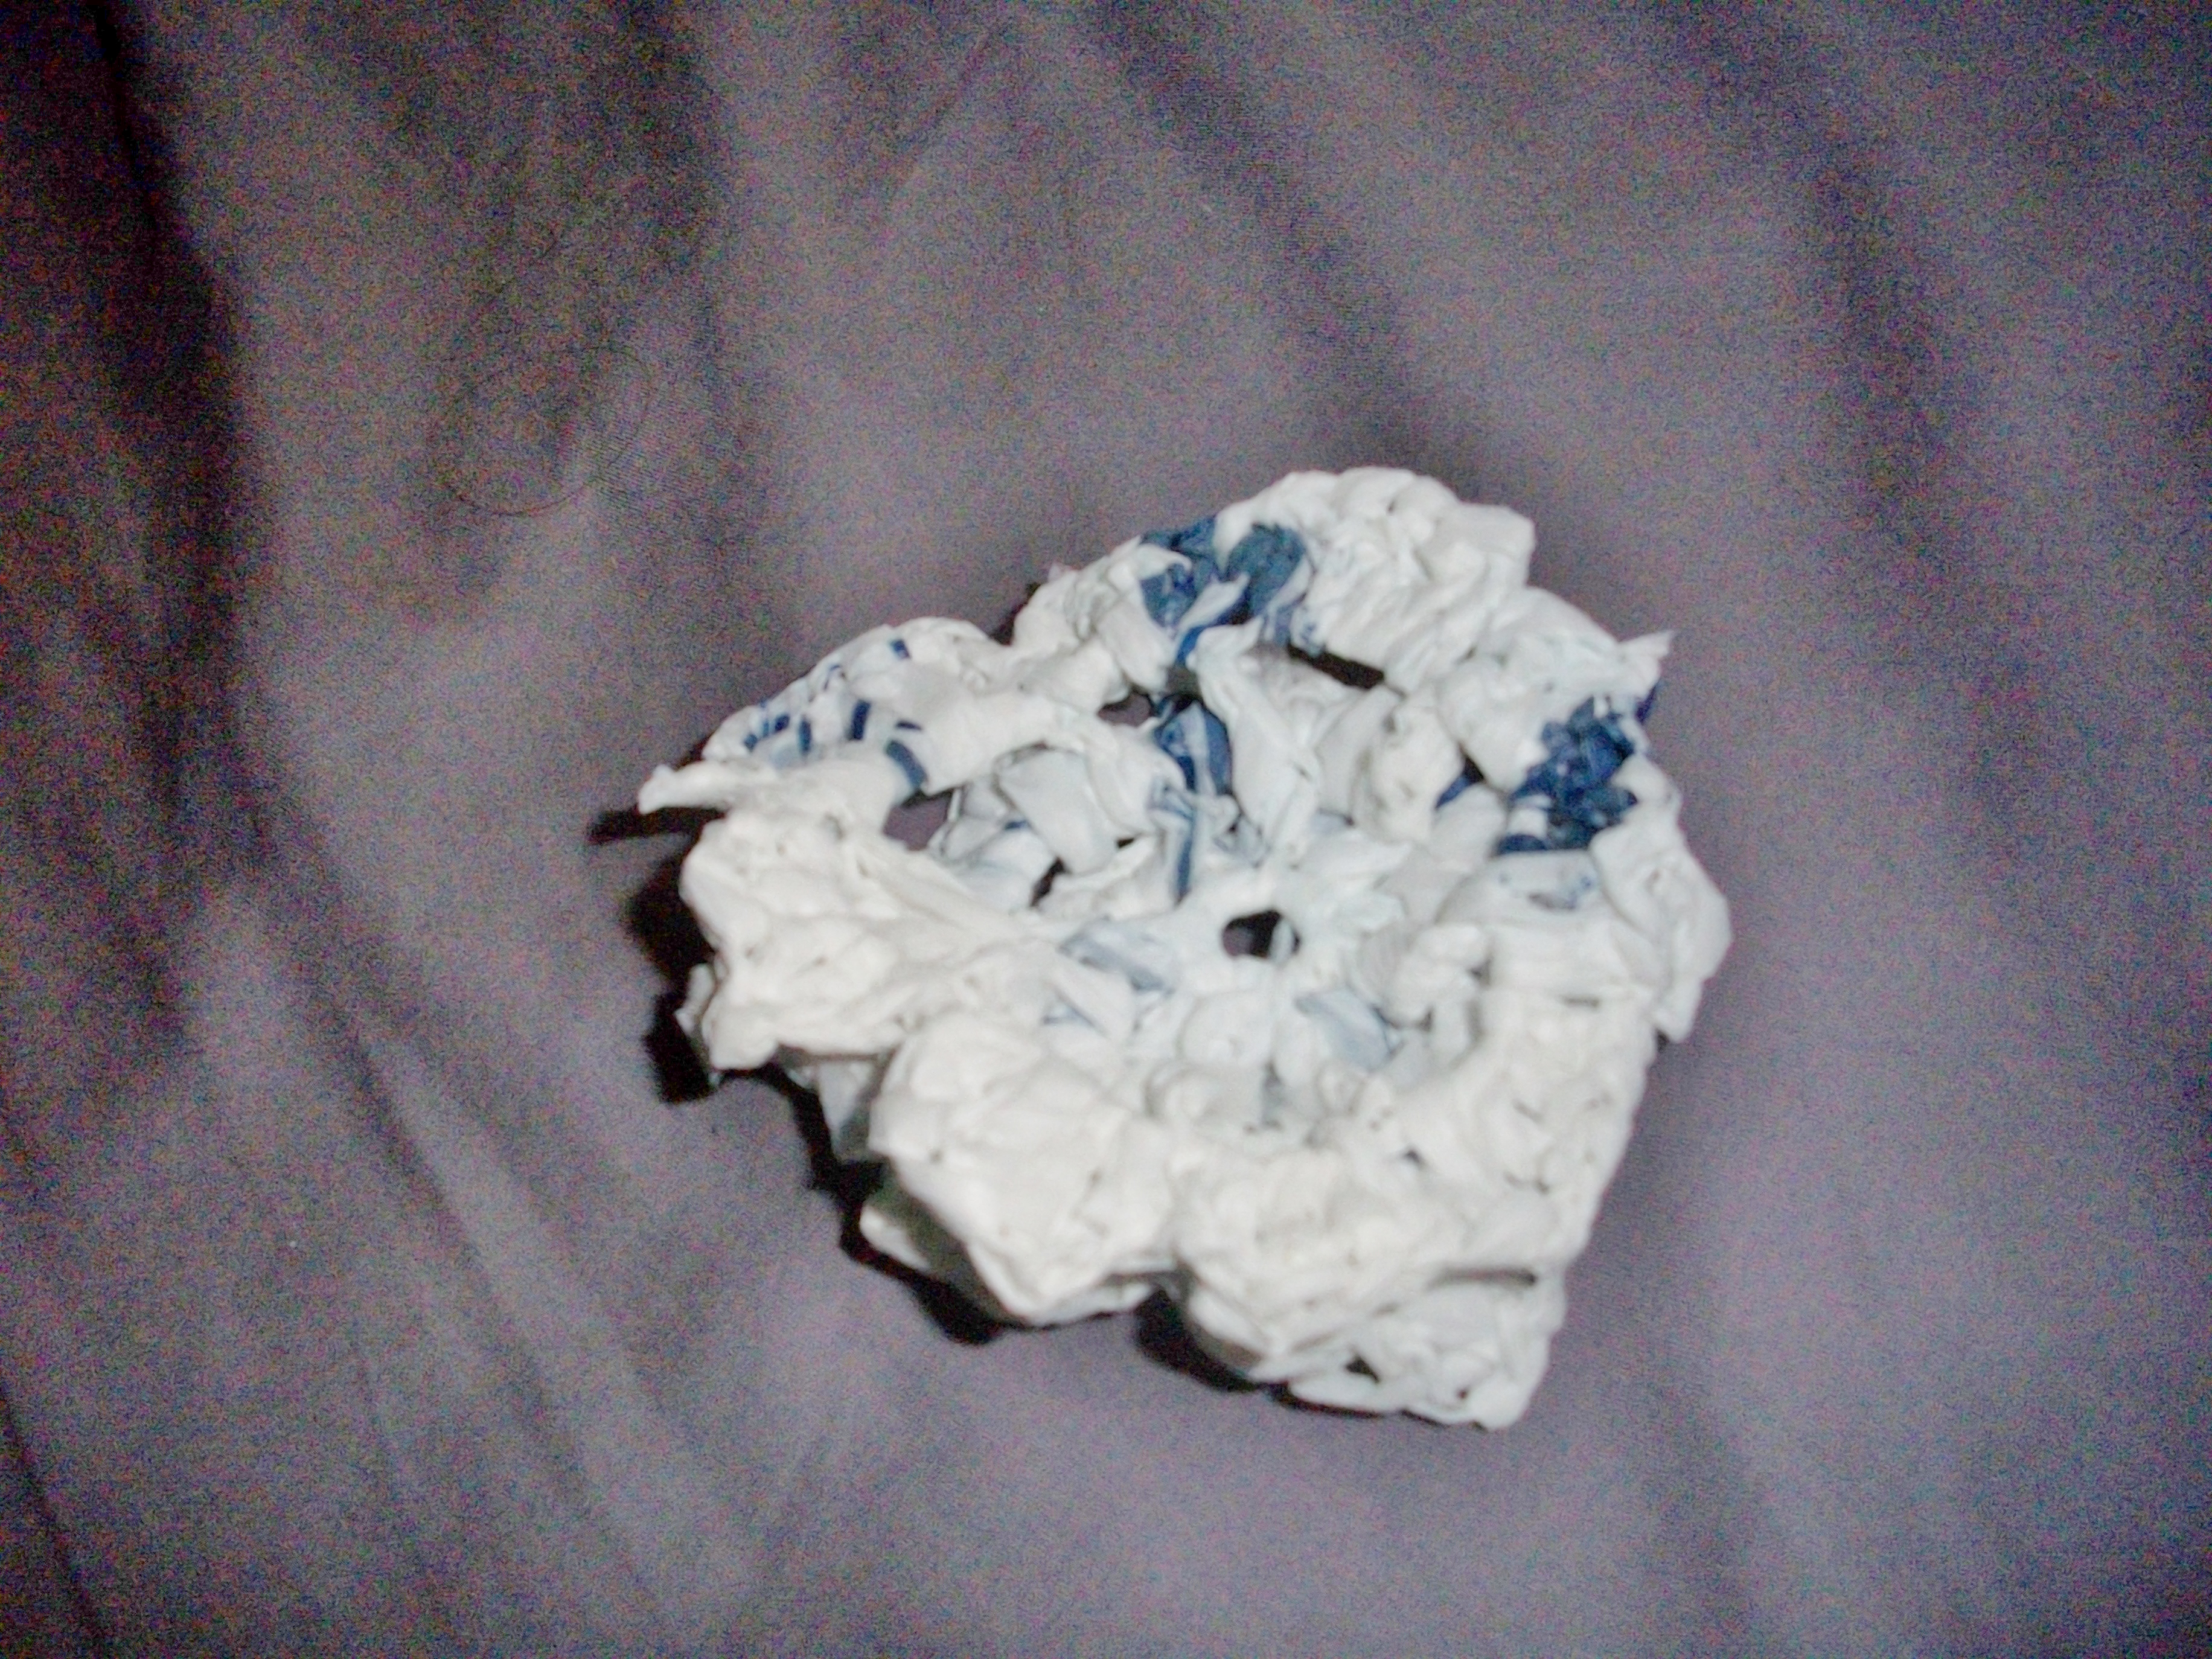
Before you sew anything, decorate your bag with whatever cute plastic bags you have leftover. These will melt pretty quickly so don’t leave the iron on there for more than a few seconds at a time or you can sew your decorations on. Once I got a method down, I had better luck melting. Mostly I had to work with Wal-Mart bags, but since I hate Wal-Mart, I did my best to cover up it’s name. For the second time, I just cut the Wal-Mart out and stacked the bags, so the hole wasn’t in the same spot for each bag.
There are tons of things you can do with this fusible plastic. I sewed up the sides, melted some thing scraps to make handles and made a reusable bag. Because so much of my plastic didn’t turn out the first time, I didn’t have enough to make another one, so we made a pencil pouch.

Fold the bags in half and sew up the sides with right sides together. Then turn the bags inside out.


The material is waterproof and extremely sturdy, so it would make a great beach bag. If you really wanted to. you could sewed it as a lining on a cute bag. These are just the simple things you can do, but there are plenty of awesome ideas that I want to do someday.
Raincoat: Yes, you read that right.


