Fusible Plastic

Here is what I love and kind of hate about plastic bags. They’re really hard to manage: they take up a lot of room, float around without much encouragement and they’re just annoying, but that makes it fun to deconstruct them and turn them into something else. Fusible plastic, for example.

What you need:

At least 8 bags, but I recommend more in increments of 8- try to get some extra more colorful bags too

Iron

2 long pieces of parchment paper

Of your eight, the majority should be grocery bags or at least the same kind of bag. For my latest run, I used a kitchen bag in the middle because I wasn’t sure how it would compared to others and it still worked out pretty good. That set might have been my best.

Take each bag and fold it down neatly, so all the edges are tucked in. Cut off the seam on the bottom and the handles.

Cut down the side, so you can open it up and lay it flat. Do this with all eight of your bags.

Lay down one sheet of parchment paper and lay down your bags on top. For me, it’s impossible to make all the bags even, but just do the best you can. Make sure if your parchment paper is too short that you’re bags aren’t hanging off the side. Then add your second piece of paper. Also, be prepared for a little bit of a mess because sometimes the ink will melt.

I think the iron does best if it’s set on rayon or the 5 or 6 setting. I would rather you start on too low a setting and work your way up than start too high and ruin the plastic.

The plastic bags can easily get out of line, so the best way to start is melt one end and then work your way over. Once you finish one side, turn it over and work on the other side.

Keep the iron moving constantly. I mean constantly. The plastic tends to shrink and at first I thought I was doing it wrong, but as I kept ironing, I noticed that it was giving the solid feel I was going for. If you can feel the separate layers, you need to keep going.

Before you sew anything, decorate your bag with whatever cute plastic bags you have leftover. These will melt pretty quickly so don’t leave the iron on there for more than a few seconds at a time or you can sew your decorations on. Once I got a method down, I had better luck melting. Mostly I had to work with Wal-Mart bags, but since I hate Wal-Mart,  I did my best to cover up it’s name. For the second time, I just cut the Wal-Mart out and stacked the bags, so the hole wasn’t in the same spot for each bag.

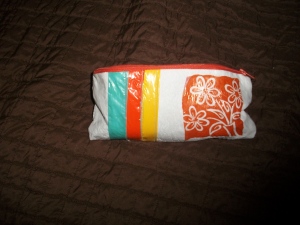
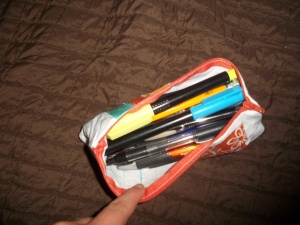
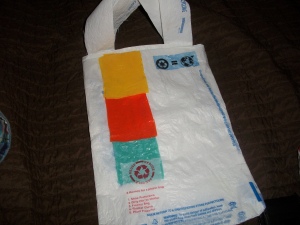
There are tons of things you can do with this fusible plastic. I sewed up the sides, melted  some thing scraps to make handles and made a reusable bag. Because so much of my plastic didn’t turn out the first time, I didn’t have enough to make another one, so we made a pencil pouch.

Fold the bags in half and sew up the sides with right sides together. Then turn the bags inside out.

Fold the bags in half and sew up the sides with right sides together. Then turn the bags inside out.

005 003 004

The material is waterproof and extremely sturdy, so it would make a great beach bag. If you really wanted to. you could sewed it as a lining on a cute bag. These are just the simple things you can do, but there are plenty of awesome ideas that I want to do someday.

Raincoat: Yes, you read that right.

Wallets

Shoes!

Crocheting Plastic Bags

Like I said, I’ve become addicted to crafting with plastic bags. There is just so much you can do with them and they’re such a nuisance, it just fits.

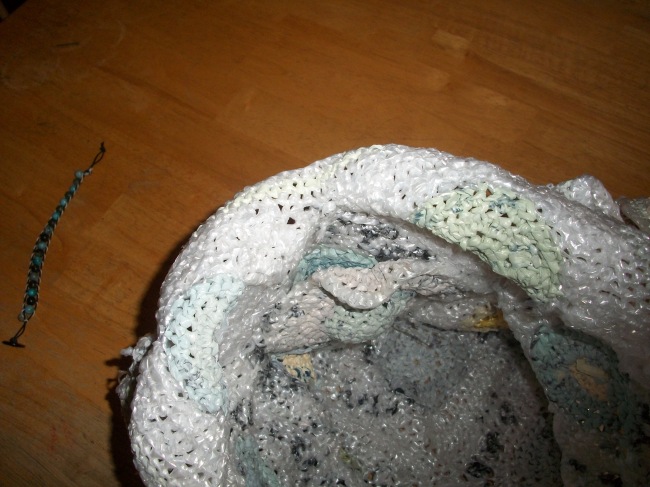
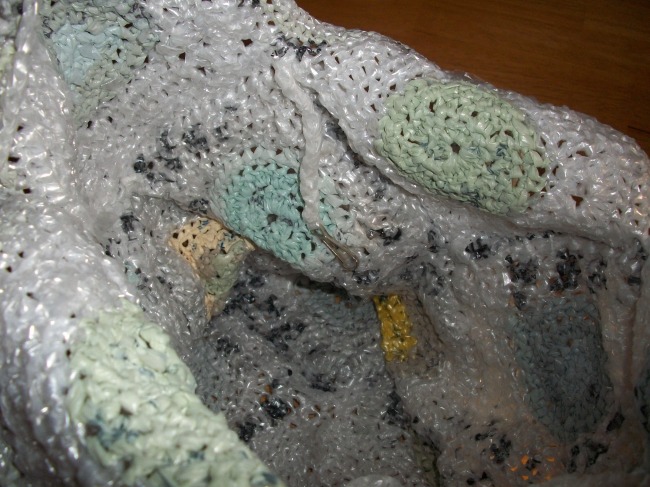
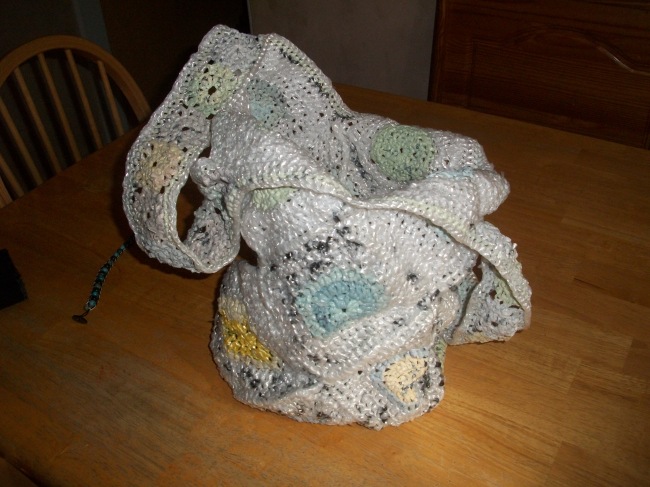
Let me start by saying, I’m a terrible crocheter. If I had been a mother when crocheting was popular, my kids would have probably been beat in the school yard and then left to freeze. Luckily, plastic bags weren’t around back then, so they’d at least have that going for them. And even luckier, I don’t have kids now to put through that experience. The good news is I am getting better. I tried to learn a few months when I wanted to make a rug out of crocheted bags, I still have that unfinished, but then I was inspired by the bag below, which my grandmother made me for my birthday.

ImageImageImage

It has a pocket and a place to hold your keys.

I’m sure you understand my motivation. It’s amazing. Here is the pattern, if you’d like to make your own. She tried to teach my aunt and I, but I wasn’t catching on very quickly, mostly because the stitches all seem the same and it’s like ‘Make two double stitches. OK, I can do that.’ Fifteen minutes later, “OK, I did two. What, I did all that and I only did one?” That and keeping the tension was difficult. Needless to say I didn’t retain anything I learned that day, so I decided to practice with something else.

I found this video:

Here is Part 2 and Part 3. Watch the video to make sure because what she calls single stitches seem to be something else.

Beautiful, right? This video allowed me to watch the same thing over and over without anyone’s patience being at risk, get the stitches down and practice, practice, practice.

It took me about 8 hours to do what she does in like 20 minutes, but I did finish and that’s what is important.

ImageImageImage

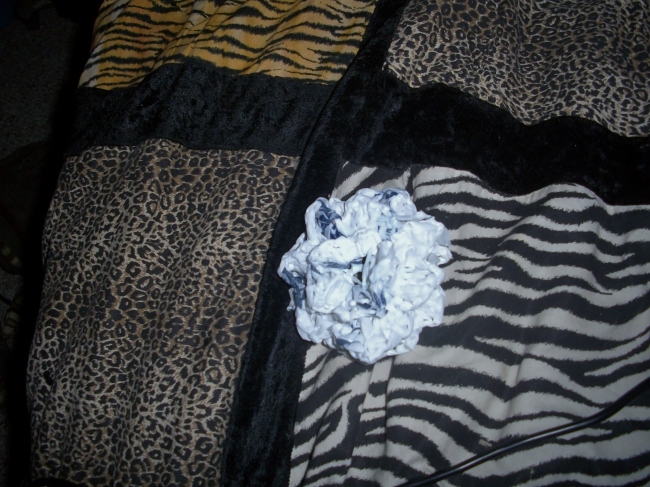
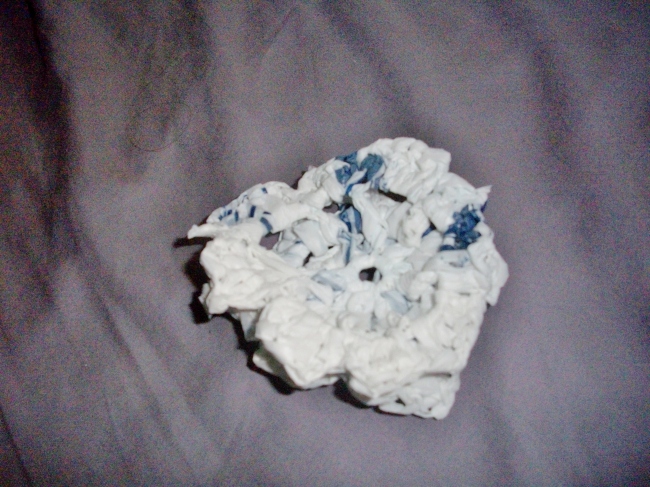
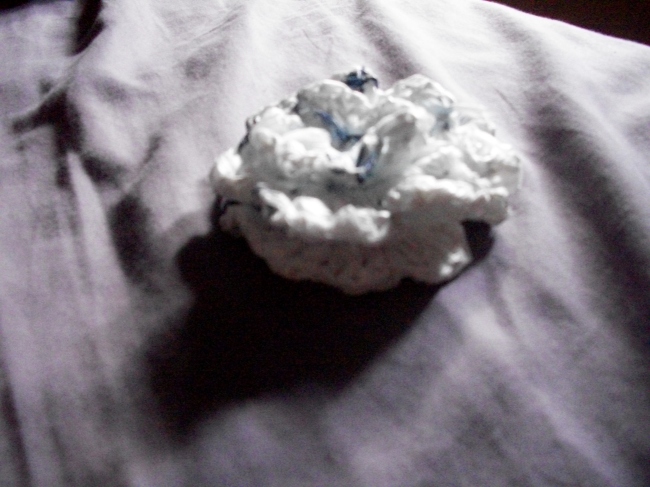
This flower isn’t great, but I will say it looks better than it does in the pictures. I took a million and it still looks like a hot mess, but it does actually have stuff resembling petals. It took me almost two bags to finish.

Now I’ve learned enough to be able to make some of the bubbles for the bag. Slowly, but surely I guess. And I’ve picked up some crocheting magazines for patterns to do later. There is so much inspiration out there. If you’re not a seasoned crocheter, I would suggest you start with yarn first, make the flowers then make the flowers with the bags, then find something slightly harder then work your way to the bag.

Anyway, have fun, don’t be too hard on yourself and be creative! Feel free to let me know what you’re working on!

Mod Podge Bicycle DIY

I said a while back that you can mod podge anything. I am now coming with confirmation that it is true.

I started going to school in a college town that isn’t too much bigger than my hometown(when school isn’t in session), but it has to accomodate a much bigger variety of people and interests, so it has a much wider diversity of things to do. Bike riding is one of those things. With all the opportunities here like sidewalks, hints of bike lanes, other people who rode bikes, etc. I could not pass up the idea of riding a bike. So I set out to find the medium with which I was going to fulfill this dream. There are a couple of bike stores here, but they sell road bikes and bikes for cycling. I just wanted a standard bike like I had when I was a kid, easy to ride, nothing fancy. There are different internet options, but it didn’t make sense to waste all that gas to have it ship something that was supposed to conserve it. Craiglist was my next best option. I started searching a couple of weeks before school started because I knew I wouldn’t have that many options. I found one that would do, only $50, and it was the kind that I wanted. I went to take a look at it. I liked it well enough and I didn’t think I would find anything super amazing and it was a pretty good price, so I bought it. It wasn’t extremely unsightly, but just a bit boring.

It’s kind of hard to tell, but the whole bike is covered in a dark black color with these lighter blue splotches.

I rode it for a couple of days before it hit me. Not a car, but an idea. You can mod podge anything.

So I set out on a quest to find out how to make this idea a reality and I stumbled onto this. She had done all the work, I just had to put my own twist on it.

What you need:

A bicycle- check out thrift stores, ebay, Craiglist for a used one. Honestly, if I had bought a new one I never would have had the heart to do this. It just wouldn’t make sense. Find an ugly one, one that no one wants and prove to the world that it’s worth a second glance.

If you have a son or daughter that needs or wants a bike, but can’t afford something new and all you can find is girl’s bike if you have a son or vice versa, give it a new look with this project. They’ll never know the difference and they’ll feel even more special because it’s the most unique bike on the block.

2 Mod Podge Outdoor- I used a whole bottle and then just a tad of the second, but I didn’t start out very generous and that made the project quite a bit harder, so definitely get two bottles.

Mod Podge Hard Coat- Definitely only one bottle. I could only find the outdoor in a store, so you may be better off just getting both of the internet.

Tons of Paper or 1/2 yard of fabric- come up with your idea of what you want the bike to look like before you start cutting up stuff.

1 inch foam brush- ONLY get one inch. I got larger ones and it made the project a lot harder and get more than one because they wear out pretty quickly.

Scissors- A pair that you don’t care about

Drop cloth- for obvious reasons

Time and patience- I used a lot of small pieces of paper, which took me quite a while, over a week to be exact.

Because I used paper that is what I will be explaining about, but here is a link if you want to use fabric.

Step 1- Cut out your paper. I used magazines. I just cut out textures, patterns and colors that I liked. I suggest that you stick with about four main colors with a random color every once in a while to make sure it’s not too busy. Also pick a lot of neutrals. For me this was mostly book pages. I cut out tons and tons of these because I wanted to make sure I had a wide selection of interesting things to choose from. I used a 1 1/16 inch hole punch like the kind people use for scrap booking, but you can do random torn out shapes, squares, hearts, what ever suits your fancy.

Step 2- If you want to take apart your bike this is the time. I don’t recommend it unless you’re absolutely sure that you can put it back together. I was too afraid to do that to mine, but it mind some parts kind of difficult. Just be sure that’s what you want.

Step 3- For the sake of this tutorial we’ll say that you’re using the circles. With the outdoor mod podge, generously paint the back of each circle and place it on the bike in whatever order you want. The trick is when you get to the more difficult places on the bike, like where the pieces are held together, then you want to make sure it’s nice and wet so it will hold it’s shape and be more malable. On the really difficult place on the bike then try cutting your paper into smaller pieces. The mod podge is pretty thick, but don’t be afraid of it.

Step 4- Take it one piece of the bike at a time. I suggest going with the harder parts first. This project will probably take at least a couple of days, so each time you put the project up for the night go over the section you worked on with one last coat of the outdoor mod podge glue. Also try to keep the bike inside if possible because the rain or some other natural element may mess it up if all the sealers aren’t on there yet.

Step 4- When you’re done with all the sections, add one last coat of outdoor over the entire thing. Once you’re finished with the entire bike let it dry for several hours.

Step 5- When you’re sure that it’s exactly how you want it, put your last coat of the hard coat mod podge. This stuff is pretty drippy, but don’t worry; I’m now pretty sure that it’s impossible to mess up mod podge.

And this is my completed art work. Depending on your taste, you may or may not like it, but I really like it. The world is your canvas people, just pick up some paper scraps and get to creating.

Design ideas:

While I was working on mine loads of ideas where coming to mind. I really want to make another bike, but I only have the need for one, so I’m hoping somebody will be inspired and ask me to make one. For now I’ll live my dreams through you. Here are my ideas in case you’re at a loss.

Use a road map: I think this would be adorable to cover the entire thing in several different kinds of maps.

Use black and white photographs: I also think this would be awesome. If that’s too boring you could add a spot of red or pink in different places or use the black and white as you’re neutrals.

Make a design: This was one of my first ideas, but I didn’t know what kind of design I should make or if it would turned out right because I’m pretty horrible drawer. I thought about covering the whole bike in book pages and then using colors from the magazine to make a vine and leaves that grew around the bike. Or a snake. Snakes are awesome.

Use comic books: I really, really wanted to do this, but I didn’t have any comic books and that would mean I wasn’t upcycling.

Do the layering effect that I did except cut out some feather shapes instead of circles. I didn’t do this for obvious reasons. It would take forever to cut all that out.

Cover the whole thing with book pages and then draw graffiti type art or regular art all over it.- Again, I thought this would be awesome, but I suck at drawing. I would make sure that you could draw on the dry outdoor mod podge before doing your final layers of it.

Paper patchwork effect- Cut out different sizes of squares for that quilt effect.

If you want to use fabric, but still want to upcycle try looking at thrift stores for thinner shirt or dress materials. You may need more than one shirt or dress, so find away to incorporate the different colors and styles like doing a patchwork type look.

So, those are my ideas. Let your brain run wild with all the possibilities. Good Luck!

Want more ideas? Check out my DIY page.
Sun Made Record Bowl DIY

My plan was to have a pretty cool DIY for you today, but instead I have an idea, the do’s and don’t’s and proof that this project does work even if I don’t have the cut and dry exact rules just yet.

A couple of months ago my mom was got some large spools for tables and chairs. These spools had some big holes in the middle and my mom didn’t want spiders or bugs to be able to crawl up through the hole, so she decided to cover the holes up. She got some records, covered up the holes of the record with broken pieces of other records and then glued them down on top of the spools. Needless to say they melted.

Here is what our spools look like.

And that is how I came up with this idea of making record bowls in the sun.

What you need:

Records- I got mine from super scratched up and unusable at the thrift store for 10 cents. I knew this would be a learning process, so I got a bunch.

Dishes- especially if you’re going to use the oven. The taller the items, the deeper your bowls will be. You need some taller for the bottom and something wider than the bottom dish for the top.

Lots of Sun

Lots and Lots of patience

I’ll give instructions for the oven verison first.

Step 1- Turn on the oven to 200, which is the lowest most ovens go. If your won’t go down that far then 250 will work. Stack like so. I used a funnel type colander for the bottom and a wider colander for the top. Put it in the oven. The great thing about this is that the bowl pretty much makes itself. I made these a while ago, but I believe that after 10 or 20 minutes the records get soft enough that you can start to mold them how you want.

If you want to make the plates, then just turn the plate upside down and place the record on top.

Finished Products

I believe the blue one was the one I made with the colander. The orange I made with a a bundt pan. It was more shallow.

Here is how the plates turned out. We ended up making a three tiered appetizer type stand with ours. The deepest bowl which ended up being the narrowest bowl on top and the plates went on the bottom.Turned out pretty cute.

For the sun method, things are a bit different. There is no dish stacked on top and most of the molding you’ll do yourself. You can either let the record melt into the bowl, like shown, or you can let the record melt over the sides of the bowl like it was shown before, but without the bowl on top.

The sun seems to be a bit tempermental. This doesn’t work just because it’s ridiculously hot; It works because the sun is beaming directly down on it. If you put these in your back yard and the sun is still beaming on your roof then it won’t work. As the sun moves, your records have to move.

I tried to make these at my aunt’s house. I had to put them on concrete because she didn’t have any tables that were in the sun and it didn’t work. By the time I got my records out and found a decent place to put them, it was a little later in the afternoon, so maybe that’s why.

At home the best place for me is from 1-4 and I’ve only had luck on these white tables. Why it worked I don’t know, maybe I waited too late at my aunt’s house or any other time I worked on a different surface, but it’s something to consider if this doesn’t work for you.

Some other things you should know: I broke a lot of mine because I was impatient. Some of the records are extremely flimsy, so they seemed to be soft and bendible, but they weren’t ready. I ruined a lot of mine that way. Check them every 20 minutes or so. You want to get those extremely flimsy ones because they melt faster and they’re easy to mold. You’ll know what I mean once you buy them. Once you start your bowl, try to finish because the sharper curves make it hard for the sun to reach that part of the bowl.

This may sound hard, but it really isn’t. You just have to have patience and be willing to try different methods. What worked for me may not work for you because it’s all about the sun. You may be tempted to just throw them in the oven, but making them in the sun is better. It’s free, you won’t create extra heat in your already hot house and it gives you a little extra time outside. It takes about 20 minutes or so for it start to make it workable and it cools pretty quickly, so shape fast.

You can use these bowls for any number of things. I think I’ll make mine into a planter for a shallow rooted plant. Or maybe even into something like this.

And most importantly  have fun with it.

Want more ideas? Check out my DIY page

Hummingbird Feeder DIY

Hummingbirds, actually all birds, are quite delightful. I’ve never had an interest in birds. I didn’t not like them, I just thought, ‘oh, there’s a bird.’ Now I think ‘THERE’S A BIRD! AWWW…’  Caring about the environment has given me a whole new perspective. It’s quite nice. Most of the time. Anyway, back to the point. Because hummingbirds are so delightful, here is a feeder DIY, so that you can appreciate them and take care of their habitat. NOTE: It may take a couple of weeks for the hummingbird to the nectar and start showing up. Change the nectar once a week.

You will need:

A pop bottle, preferably red but I don’t know if there is such a thing. If you know of one let me know.

14- 20 spoons- again preferably red.  We used spoons from various other places like Cherry Berry, which  has red and pink, and other ice cream or frozen yogurt places. The point of upcycling is to use trash. I’m going to ask that you don’t go out and buy red spoons. Use ones that have already been used. Yeah, it sounds gross, but that is what soap is for.

A red lid- if you don’t have red spoons then get a flimsy red lid like one that are on gas stations to-go cups or even one of those metal peanut jar lids. Not something hard like peanut butter lids.

A candle, not a tea light

Hot glue gun

Pliers

A feeding tube– these you are allowed to buy.

A chain- my aunt had hanging plant pots that she was going to make into a chair pot and she didn’t need the chains any more so we used those. You could probably use any kind of chain.
Hummingbird Nectar

Want more ideas? Check out my DIY page

Garden Stepping Stones DIY

I do believe this will be my last garden related post for the time being. Sooner or later I’ll put photos of my mom’s garden up, but I probably won’t do that until next week.

Things you need:

Molds (one bag makes 13 or so 8×8 molds, so however many you want to make)

Sand Topped Quickcrete

A Bucket to mix in- we started out with a paint bucket and moved to a wheel barrel. (Make sure if you use something that you’ll need again to wash it out.

Something to mix with- we used with a shovel. (Again, make sure you wash this)

Creative medium- we used everything from glass to marbles to rocks to plastic. Most of the glass was broken at a thrift store so they gave it to us. The marble were given to us by a friend. Some rocks came from our yard or another friend. We did buy a couple of glass and plastic pieces from a thrift store, but we didn’t buy anything new. Don’t use metal, it will eventually rust.

If you decide that you want to make the patio you’ll need:

Sand-for our 10×10 block we need 20 bags of sand

Gravel-10 bags

Select an area, however big you want it. Mark it off and dig down four inches. Make sure that the area is as level as possible. Add your bags of gravel. They should be about one inch deep. Then add a few bags of sand. We needed 16. Lay out your stepping stones. Then cover the stones with sand. Take a broom (one that you don’t care if it gets ruined) and move the sand in between all the cracks. This is pretty hard work, so be prepared. Every few sweeps, spray it down with water. When it’s pretty spread out, you can continue to spray the sand in between the cracks.

Bottle Cap Magnet Board

Depending on big you want your frame to be, you may need a lot of bottle caps for this project. I used a 16 x 20 frame and I used around 221 bottle caps. If you need bottle caps visit me at http://www.etsy.com/shop/serendipitysscavenge and if you let me know that you’re from my blog then I’ll give you free shipping.

Want more ideas? Check out my DIY page.
Vinyl Record Clock

If you have any questions about something I didn’t cover then feel free to leave a comment and I’ll get back to you.

Pick Punch

With this pick punch, you can make picks out of old credit cards or gift cards. You can use them for decorations, but the also really function as guitar picks.

Want some more ideas? Check out my DIY page.
Wrapping Paper Bows

You can use any kind of paper to make these, but since I had tons of used wrapping paper left over from Christmas, I decided to use it to make bows for next year.

Want more ideas? Check out my DIY page.